пятница, 31 мая 2013 г.

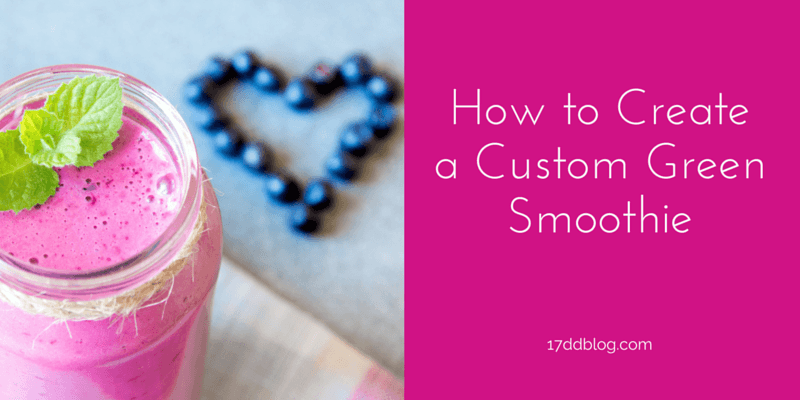
How to Create a Custom Green Smoothie

How to Create a Custom Green Smoothie
3 Ingredient Magic Formula for a Custom Green Smoothie for the 17 Day Diet

Green smoothies are all the rage! They can be healthy, convenient, and give you a reason to incorporate more greens into your diet. I created an entire recipe book of green smoothies approved for the 17 Day Diet.


At first it might seem strange to mix spinach or kale with fruit and blend it all together! But once you try it, it’s easy to see why people get hooked!


Before we dive in to the exact formula to create a custom green smoothie, let me clear up a few things.


Can I have a green smoothie on the 17 Day Diet?


I get asked by many blog readers all the time if smoothies are allowed on the 17 Day Diet. I answered this question over in a blog post not too long ago. Short answer is yes, smoothies are allowed on the 17 Day Diet.


Now, don’t get this confused with the Transitional Day Fast (the relatively new concept Dr. Moreno came up with where you have three smoothies in one day either in between each cycle or when you fall off the diet for a few days). I’m talking about having a green smoothie every single day as part of a meal replacement or a snack.


What ingredients can I use for a green smoothie?


If you’re sticking strictly to the 17 Day Diet, then it’s best to use cycle-approved foods. If you’re on cycle 1 or 2, then choose greens such as kale and spinach and low sugar fruits such as berries and apples. If you’re on cycle 3, you can start adding in higher-sugar fruits such as bananas, mangos and pineapple.


Can I replace a meal with a green smoothie?


Yes! Probably the best meal to drink a green smoothie is for breakfast. Not only is preparing a smoothie fast and convenient during the morning rush to work, your body is also able to use the natural sugars from the fruit when you’re most active in the morning and early afternoon.


If you’re going to drink a smoothie for breakfast, you may want to consider adding protein-rich plain or greek yogurt to your smoothie or a few scoops of unflavored whey protein powder.


OK, now that we have those important questions answered, here is my formula for a healthy green smoothie.


How to Create a Custom Green Smoothie for the 17 Day Diet


Here’s my winning formula for a 17 Day Diet approved green smoothie straight from my green smoothie recipe book, Addicted:


1 Cup Tightly Packed Greens

1 Cup Liquid Base

1 1/2 Cups Fresh or Frozen Fruit


Blend greens and liquid first, then add your fruits and blend until you reach your desired consistency.


Here are a few sample ingredients to choose from:


Greens:


  • Kale
  • Spinach
  • Romaine
  • Beet Greens
  • Collard Greens
  • Swiss Chard (Cycle 3)

Liquid Base:


  • Water
  • Unsweetened Coconut Water
  • Acidophilus Milk
  • Plain or Greek Yogurt
  • Almond Milk (Cycle 3)
  • Soy Milk (Cycle 3)

Fruit:


  • Berries
  • Orange
  • Apple
  • Peach
  • Pear
  • Banana (Cycle 3)
  • Mango (Cycle 3)
  • Pineapple (Cycle 3)

This is not a complete list of the different ingredients. Be sure to check out the cycle food lists and have fun creating!


Best Practices for a Great Tasting Smoothie


Remember, if you’re sticking to the 17 Day Diet, you’re allowed two servings of fruit by 2pm every day. A serving of fruit is either one piece of fresh fruit or one cup of fresh chopped fruit.


As you can see from my custom green smoothie formula, we’re using 1 1/2 cups of fruit. This means you can add another 1/2 cup of fruit to your smoothie if you’re trying to get both servings of fruit in before 2pm. A smoothie makes a great snack, especially if split it up for a mid-morning snack and an early afternoon snack before 2pm.


If you decide to add up to 2 cups of fruit to get your daily fruit in, you may need to add a bit more liquid (maybe a spoon full of plain yogurt) to your smoothie to reach a desired consistency, depending on the ripeness and the amount of juice your fruit contains.


How to Make a Chilled Smoothie


The normal knee jerk reaction is to add ice to a smoothie. However, adding ice is just adding additional liquid to your smoothie. For a chilled smoothie without the extra ice (liquid), use frozen fruit instead of fresh, or freeze your fruit overnight before using.


Quick Tips To Plan Ahead for Your Smoothie Making Process


If you don’t have a lot of time in the mornings, consider a few ways to prepare your smoothies ahead of time:


  1. Make a few ahead of time: In an air tight container (like a small mason jar), you can keep your smoothie in the fridge for up to 2 days. Make sure you shake your smoothie before drinking (otherwise it doesn’t look very pretty and tends to separate a bit).
  2. Freeze your smoothies: make a few smoothies and freeze them flat in air tight ziplock type of baggies. Take one out the night before and let it thaw in the fridge. Enjoy the next morning.
  3. Prep and prepackage your ingredients: For each smoothie, wash and cut fruit, measure out your greens and place ingredients into a separate ziplock type of baggie. So that’s one baggie of ingredients per smoothie. All you have to do the next morning is add your liquid to your ingredients in your blender and blend away.

Original article and pictures take 17ddblog.com site
среда, 15 мая 2013 г.

How to Create a 5-Dinner Meal Plan in 3 Easy Steps (Free PDF Download)

How to Create a 5-Dinner Meal Plan in 3 Easy Steps (Free PDF Download)
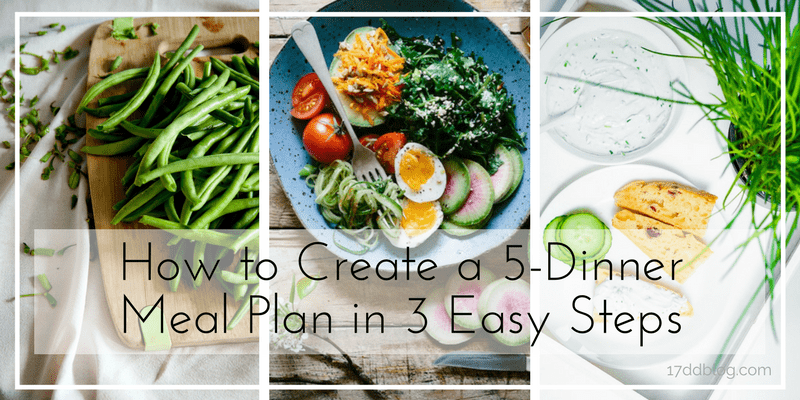
How to Create a 5-Dinner Meal Plan in 3 Easy Steps

When it comes to family dinners, it’s no secret that planning your menus ahead for the week not only saves you time, but reduces stress. These two benefits keep you on track and you’re less likely to stray from your weight loss plan.


Dinner is usually the last thing you want to think about when you’re getting home late from the office. Having your meals planned out for the week takes the guesswork out of it, and that’s half the battle.


Picky Eaters, No Problem!


Add picky eaters to the mix and you have a bigger hill to climb. If you’re the type of wife and/or mother who feels obligated to make two separate dinners every night — one “diet” dinner for you and one “regular” dinner for the family — know that there is a way to save your sanity!


I give you 100% permission to make ONE meal per evening that not only helps you lose weight, but also satisfies your family members’ needs, wants and desires when it comes to the family dinner.


Ready to Save Time and Energy?


Here’s a quick 3-step process I use to create a weekday dinner meal plan to help reduce stress, satisfy picky eaters and gives you your time and energy back so you can focus on the things you love rather than spend half your life in the kitchen. There is a bit of pre-planning before you get started, so let’s get to it!


Pre-Planning Step: Choose your Organizational Method


Before you begin planning out your menus, choose how you want to keep things organized. If you’re a fan of the old fashioned pen and paper, then by all means use this method to plan out your menus. I used to keep a menu and grocery list in written format, but as technology progresses, it’s getting easier to incorporate your smart phone into your meal planning and shopping.


My Choice: Evernote


I use Evernote for my menus and shopping list. I create two separate notes – for one the menus and the other for the shopping list. To make it extra efficient, I use my laptop to build my menu, search for recipes online and upload PDF recipes if I need them for future reference in the kitchen later in the week.


Here’s an example of my menu for the week. I included Sunday’s menu because it’s easy to do when you get the hang of it.


menu

I then build my shopping list based on my menus and recipes using check boxes next to each item. When I’m at the store, I use my smart phone to connect with the Evernote app and check off the item from my list when I get it at the store.


Here’s what an example shopping list looks like in Evernote:


shopping list

This entire process takes less than an hour (except for the shopping, of course) and probably saves me hours during the week because I already know what’s on the dinner menu. When I’m driving home from work, I can mentally form my game plan and execute the dinner prep when I get home.


OK, once you decide on either using pen and paper or an online app such as Evernote, now it’s time to build our your menus.


My Easy 3-Step Process I Use to Create My Weekday Meal Plans:


Step 1 – Pick out Your Main Entree and Side Dishes & Vegetables


Depending on where you’re at in your 17 Day Diet, decide which proteins you’d like to eat for the week. For instance, for a five day dinner plan, you decide on having chicken twice, salmon once, beef once and vegetarian one time (aka breakfast eggs for dinner – YUM!). Next, pick out which vegetables you’d like to incorporate with each protein.


If you want to incorporate recipes into your meal times, have a few stand-by recipes in your vault, or choose a few different online resources to search for recipes. You will also find a ton of recipes on my blog if you’re sticking to the 17 Day Diet.


Dinner Entree is the Main Event


The key ingredient in step one is to make your dinner entree so deliciously yummy, that your family members will not know they’re eating healthy. If you can literally distract them with the main entree, it’s easy peasy going forward!


This is the whole idea behind my weekly meal planning service, Simply17. I provide members five weekday dinner entrees that are full of flavor, along with my protein alternatives in the event fish is not a family favorite. I also recommend starch additions to make non-dieting family members happy, too!


Step 2 – Incorporate a Starch Side Dish for Your Family


If your family members are not partaking in your weight loss efforts, rather than make two different meals, add a starch such as rice or potatoes for your loved ones.


There’s no reason to make two meals. This will save you time, keep your week simple and keep your momentum going! Nobody likes a complicated dinner week, so keep it simple!


Here’s an example of how one of my meals looks like during the week:


Side Dish/Vegetable: Balsamic Roasted Brussels Sprouts and Carrots


Starch for family: Roasted potatoes drizzled with olive oil, salt and pepper (use same oven, different pan)


Step 3 – Plan for Your Easy Dinner Mid-Week or on Your Typical Busiest Day


For me, by mid-week (Wednesdays), I’m exhausted from work and I don’t feel like cooking. Before I came up with this concept, Wednesdays were traditionally the day I’d order in pizza.


Looking back I saw this trend and decided to kick it to the curb. Now when I’m planning out my meals for the week, I save my easiest meal for Wednesday evenings.


Wednesday’s meal is the same every week – baked chicken breast, steamed vegetable such as broccoli or cauliflower and a starch for the family. Easy, peasy!


Planning out your mid-week dinners is a no-brainer. Since I’ve incorporated this easy 3-step process, my weekdays have been such a breeze and my stress level reduced to almost zero (except when I have to go to the store mid-week because I need to pick something up for the dog!!).


Use a Calendar


After you get your menus, recipes and grocery list organized in your favorite app, such as Evernote, or on a piece of paper, you can create a weekday menu calendar so you can have a visual of the week’s meals. . Here’s an example of a 5-Day calendar:


Simple = Success


Preparing family dinners while on a weight loss plan doesn’t have to be a daunting task. Remember to keep things simple, keep them organized, and make your entree so yummy, your family will never know they’re eating healthy! Now that’s a recipe for success!


Original article and pictures take 17ddblog.com site