During my latest 5-Day Dinner Party for the re-opening of my weekly meal planning service for the 17 Day Diet called Simply17, one of our entrees was this delicious Balsamic Chicken stuffed with a yummy tomato and cheesy mixture. The sweetness of balsamic made this dish a hit!
You can prepare the recipe as-is by stuffing your chicken breasts, or top your chicken breasts with the tomato and cheese mixture instead. Either way, this dish is tasty!
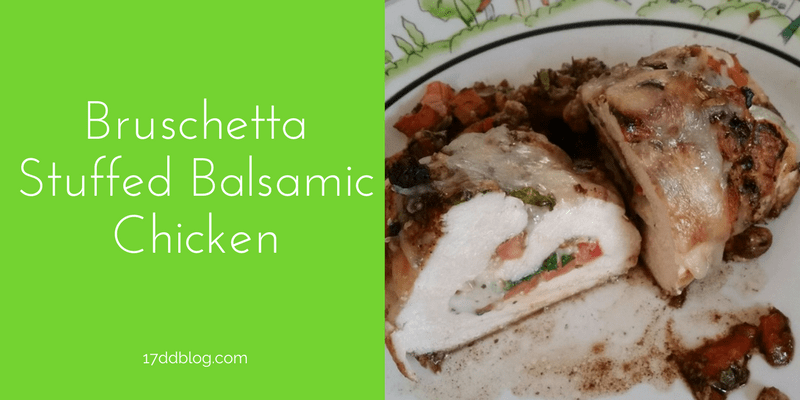
Bruschetta Stuffed Balsamic Chicken
Ingredients:
2 tomatoes, diced
1/3 cup packed fresh basil ribbons
1 cup shredded low-fat mozzarella cheese, divided
4 skinless, boneless chicken breasts
salt and pepper, to taste
2 tablespoons olive oil
1/4 cup balsamic vinegar
1/3 cup low sodium, chicken broth
3 garlic cloves, minced
1 teaspoon Italian Seasoning
Directions:
Preheat oven to 350F.
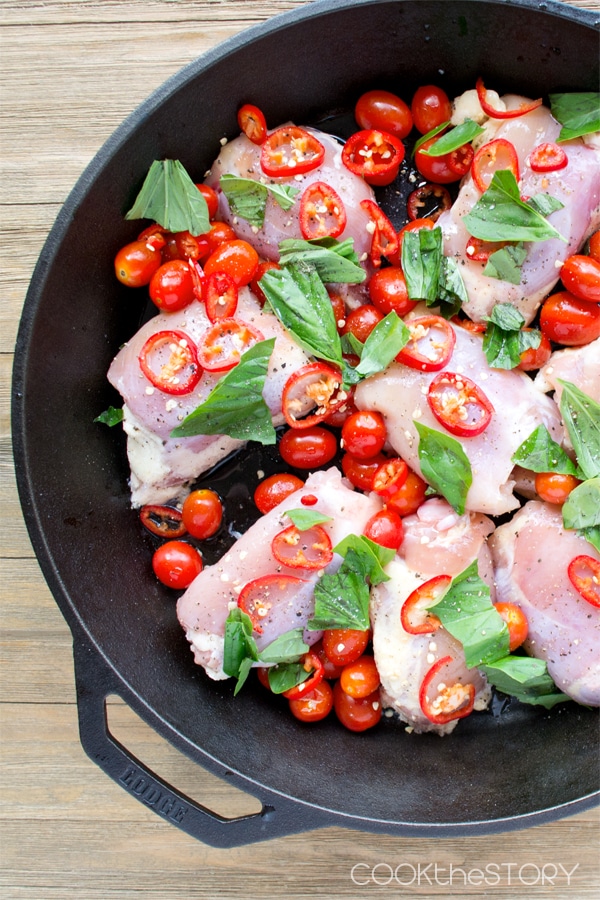
In a large bowl add tomatoes and 1/2 cup of the mozzarella cheese and basil. Stir to combine. Set aside.
Depending on size of chicken breasts, place up to two breasts at a time in one large zip lock bag (or one breast in between two layers of plastic wrap) and pound until you achieve a 1/4-inch thickness. Be careful not to tear or rip through the chicken as you’ll be stuffing them!
Season chicken on all sides with salt and pepper, to taste.
Take your tomato mixture and spoon a generous portion over the top of each chicken breast. Reserve leftover tomato mixture for sprinkling over the top.
Gently roll up the chicken breasts, wrapping them tightly, and secure both ends with toothpicks to prevent chicken from unrolling while cooking.
In a large frying pan or oven-proof pan, heat olive oil on medium high heat.
Add rolled chicken breasts to pan and cook for about 6 to 7 minutes, or until all sides are lightly browned.
While chicken is browning, combine the balsamic vinegar, broth, garlic and seasoning to a bowl. Whisk until mixture is fully combined. Set aside.
Remove chicken from stove. Spoon remaining tomato mixture over chicken and gently pour balsamic vinegar mixture over chicken.
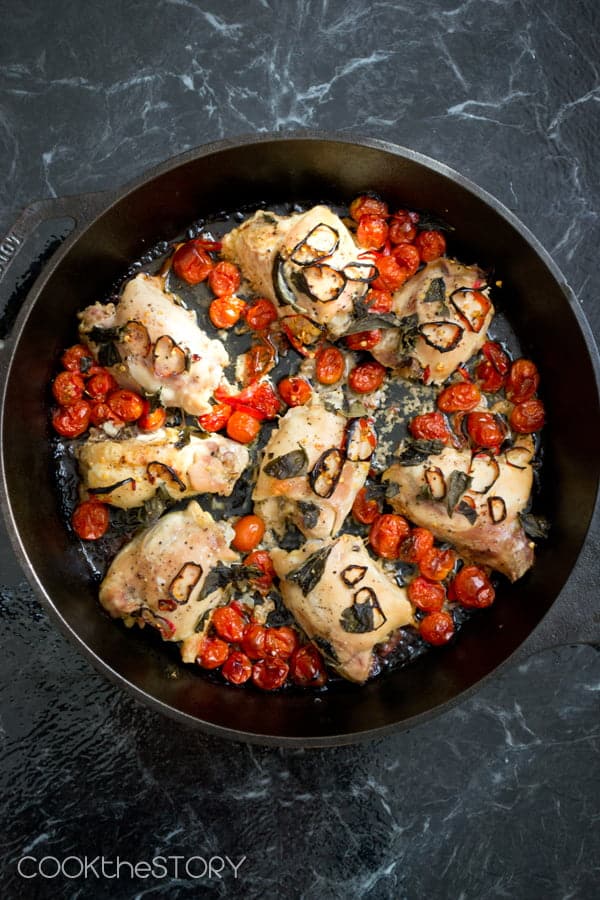
In your oven-proof pan or baking dish, place chicken in oven and bake for 20 minutes.
Flip chicken once and return to oven to continue baking for another 15 minutes.
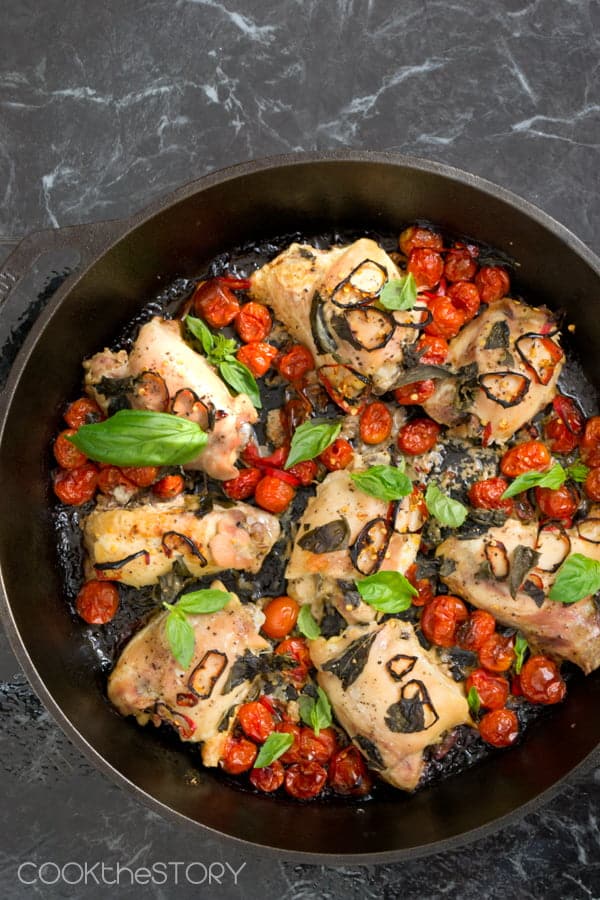
Remove chicken from oven and top with remaining 1/2 cup of mozzarella cheese and return to oven to continue baking for an additional 5 minutes until cheese is melted and bubbly.
Remove from heat and let stand for a few minutes before serving. From pan, scoop remaining tomato and balsamic mixture and serve over chicken.
Note: If you want to make this dish a bit easier and save some time, rather than stuff the chicken, cook chicken breasts with mixture on top. It’s perfect either way!
Yields 4 Servings
Approved for all cycles
Here are a few photos from party guests:

Photo above courtesy of Sandra J. – I love how Sandra’s chicken was stuffed perfectly! What a beauty!

Photo above courtesy of Molly C. – I loved Molly’s creation, along with her use of our Simply17 cards where she displayed the name of the dish. So creative!!
Original article and pictures take 17ddblog.com site